HostingUp – How to Setup HTTPS (SSL) on Shared Port Plan Using Your Own Domain
Why This Is Important
On HostingUp VPS, you are provided with a shared IP and a hosting port (e.g., 9000+). You cannot apply HTTPS (SSL) to the default HostingUp domain (e.g., vps.hostingup.icu). To use SSL, you must connect your own domain and configure it using Cloudflare Tunnel.
Step 1: Add Your Domain Name in HostingUp VPS Panel
- Login to HostingUp Panel: https://hpanel.hostingup.in
- Go to My Services and select your VPS
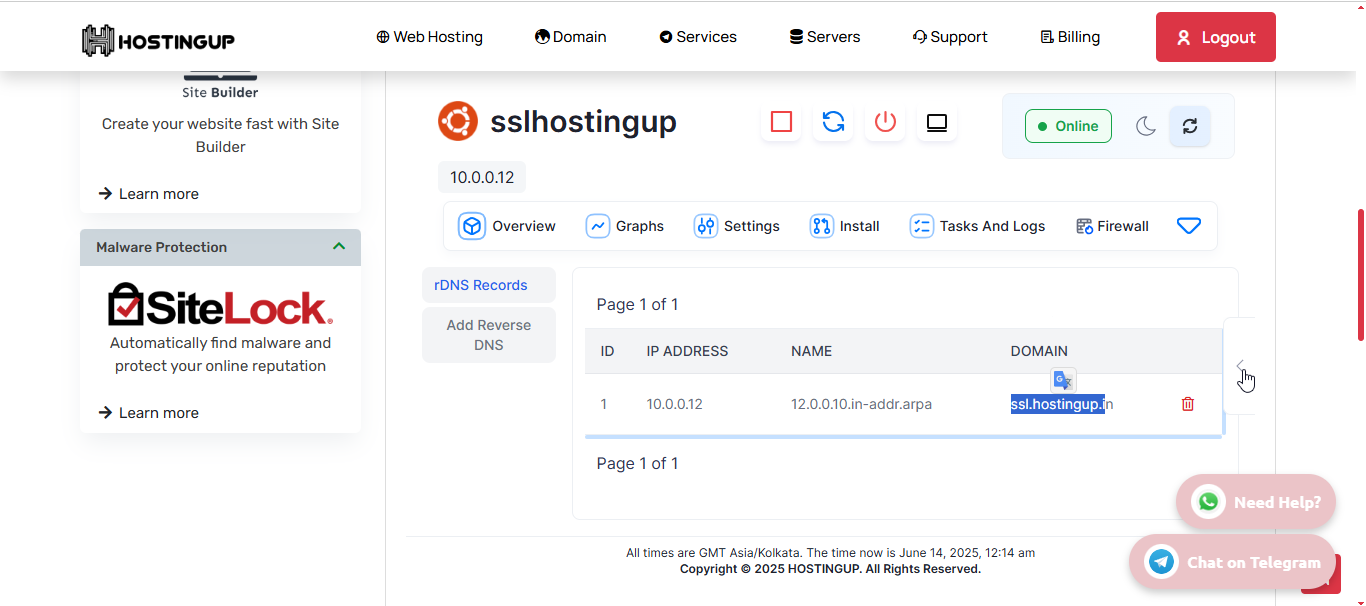
- Open the Reserve DNS section
- Enter your domain (e.g.,
yourdomainname.com) and click Save


Step 2: Change Domain Forwarding and Setup Cloudflare
Change Forwarding Domain in HostingUp:
- Open your VPS service again in HostingUp panel
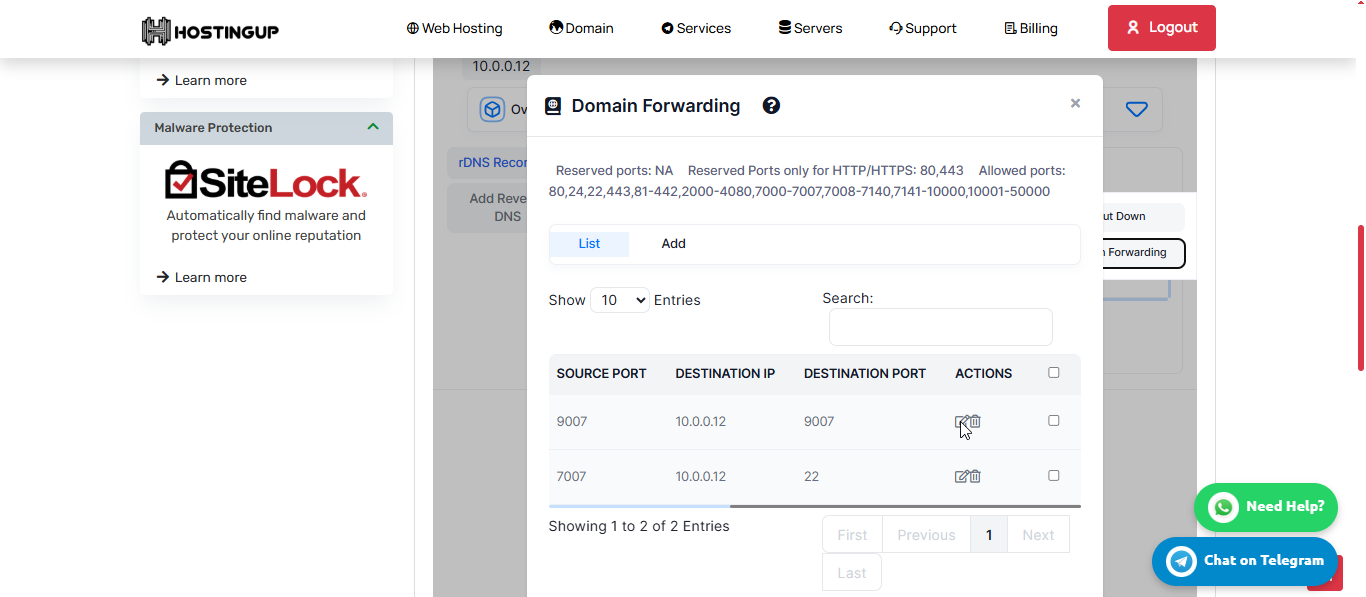
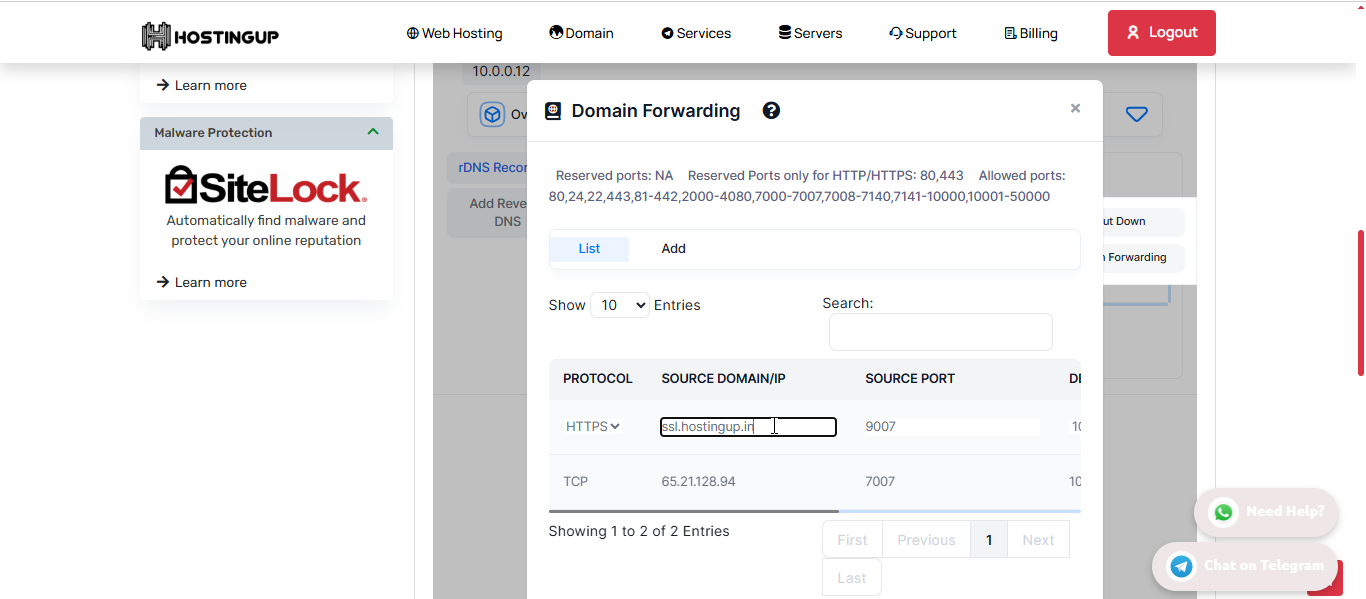
- Go to Domain Forwarding
- Replace the default domain (vps.hostingup.icu) with your domain (e.g.,
yourdomainname.com) - Leave all other settings as-is and click Save
Set up Cloudflare for your domain:
- Go to https://dash.cloudflare.com
- Sign up or log in, then click Add a Site
- Enter your domain (e.g.,
yourdomainname.com) - Cloudflare will scan DNS – click Continue
- Update nameservers at your domain registrar to the ones Cloudflare provides
- Wait for Cloudflare verification (you'll receive an email once verified)
Step 3: Install Cloudflare Tunnel on HostingUp VPS
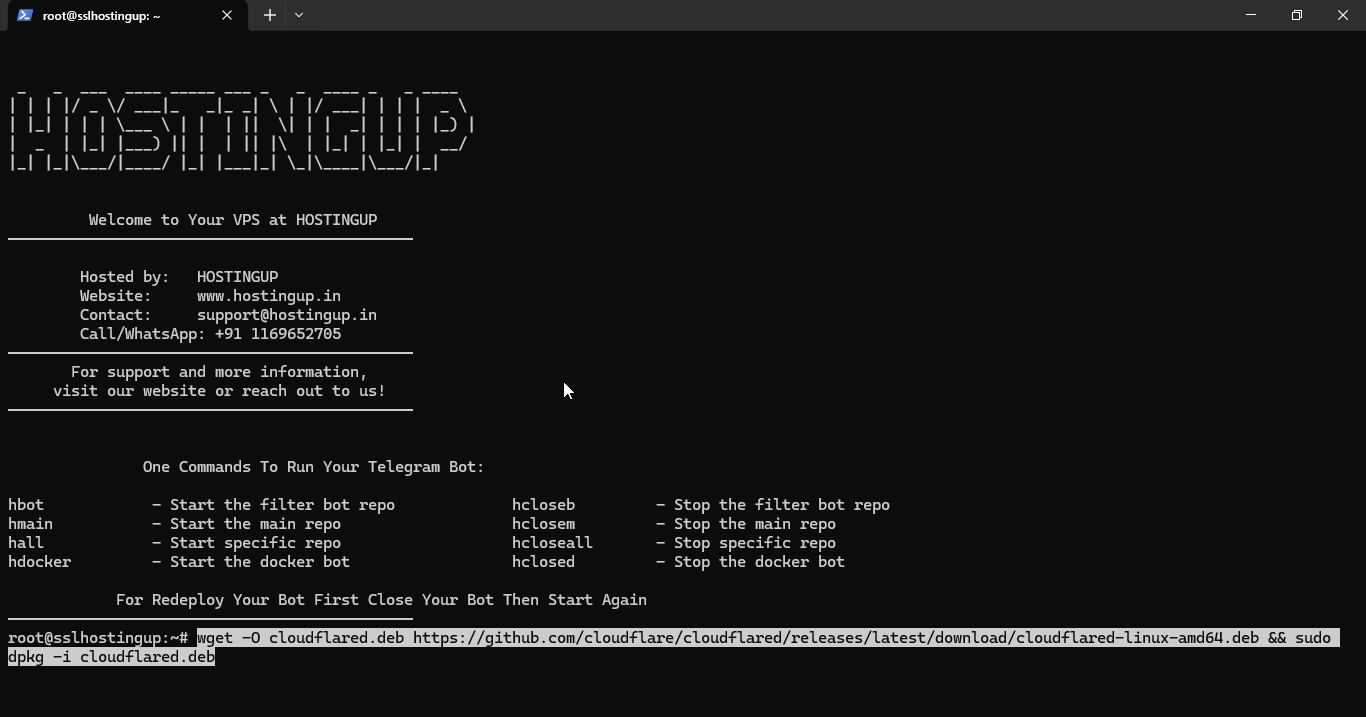
SSH Login:
ssh root@YOUR_VPS_IP -p YOUR_SSH_PORTInstall Cloudflared:
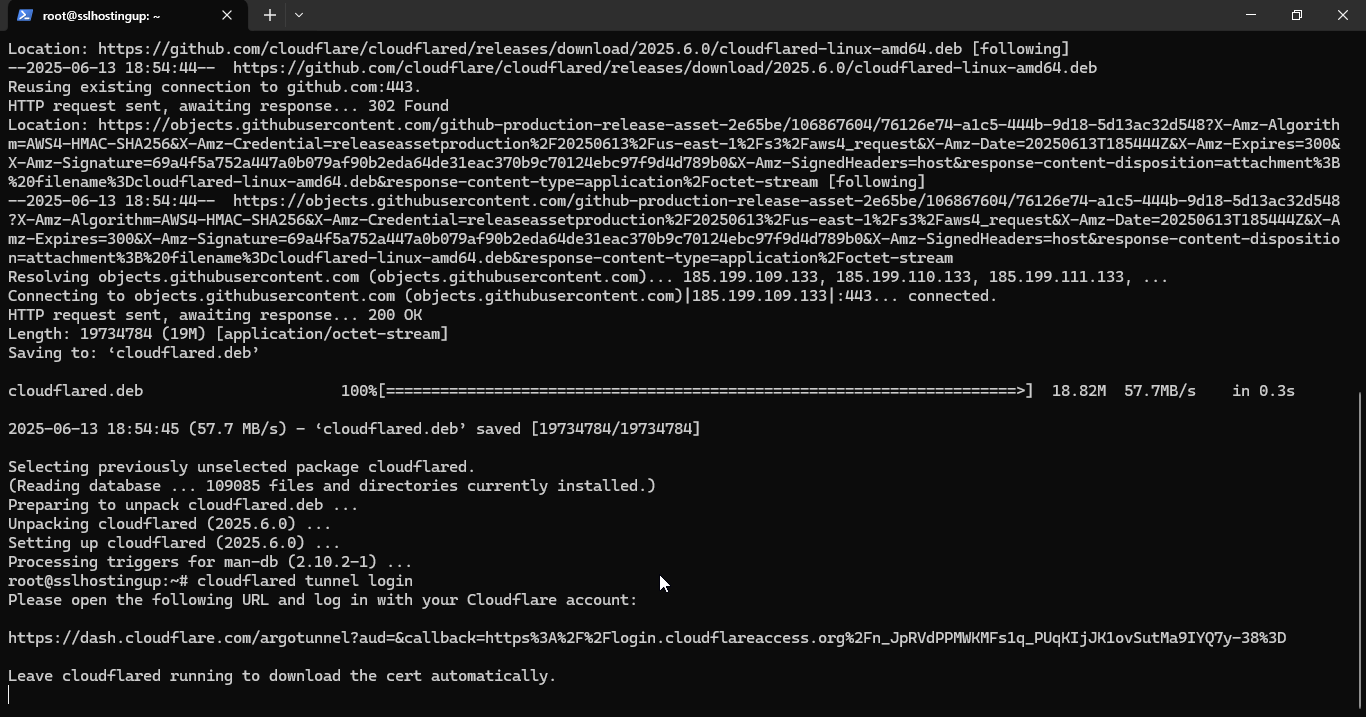
wget -O cloudflared.deb https://github.com/cloudflare/cloudflared/releases/latest/download/cloudflared-linux-amd64.deb && sudo dpkg -i cloudflared.deb
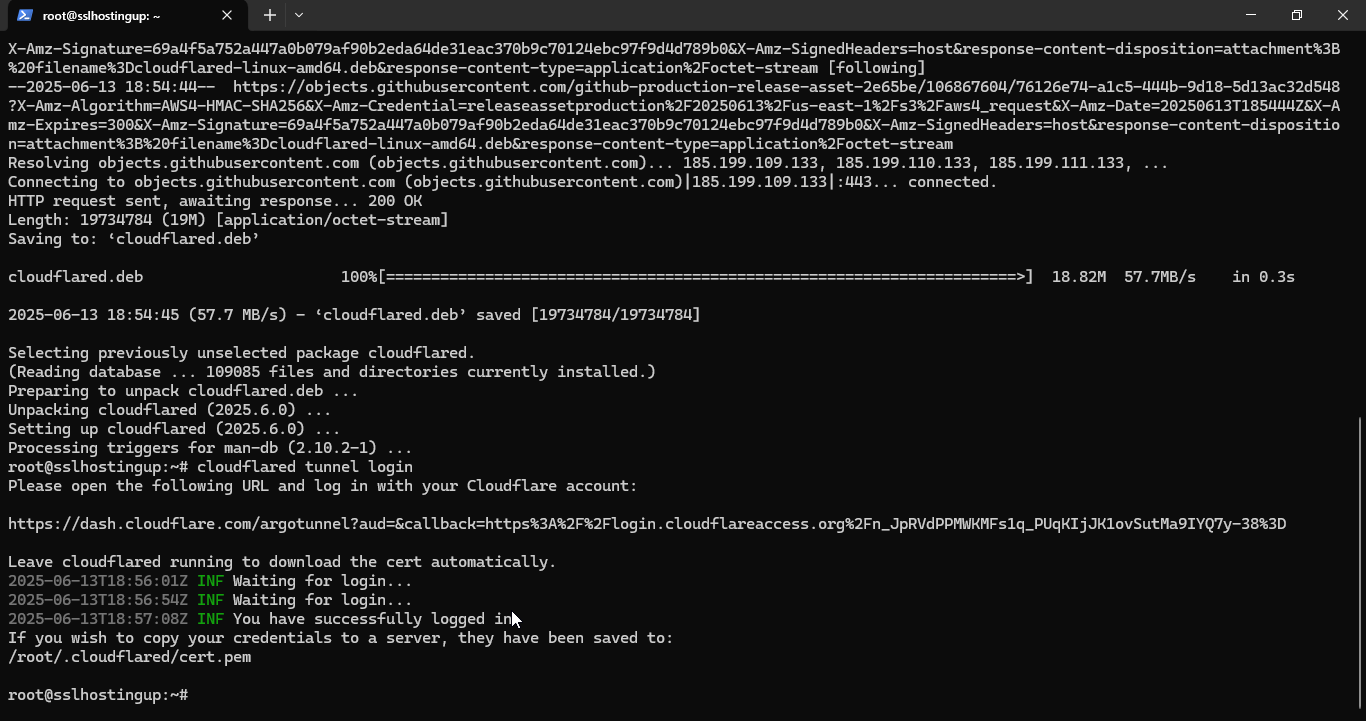
Login to Cloudflare:
cloudflared tunnel loginOpen the URL shown in the terminal, login to Cloudflare, and authorize access.

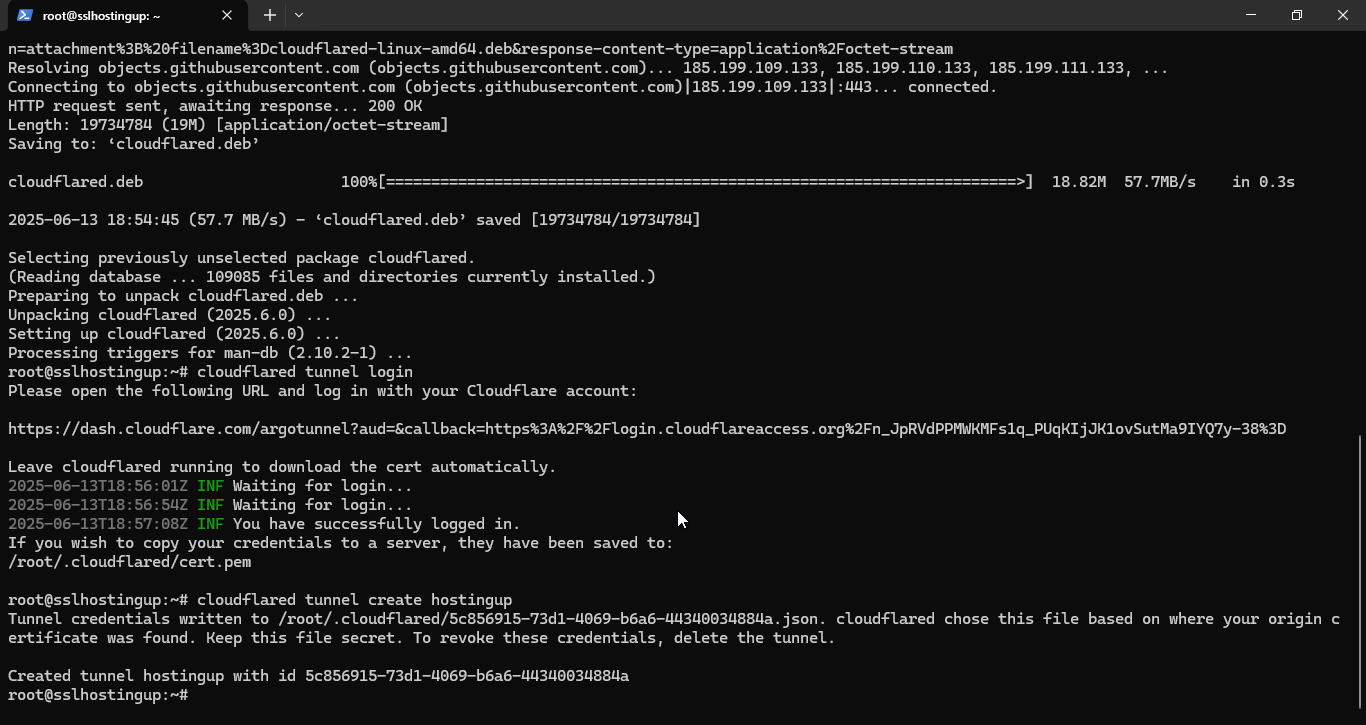
Create a Tunnel:
cloudflared tunnel create hostingupThis command will create a new tunnel and show output like:
Tunnel credentials written to /root/.cloudflared/xxxxxxxx-xxxx-xxxx-xxxx-xxxxxxxxxxxx.json
Created tunnel hostingup with id xxxxxxxx-xxxx-xxxx-xxxx-xxxxxxxxxxxx
Important: Copy and note down the path of the JSON file. You will need it in your config.yml file as the credentials-file.
Create Config File:
mkdir -p /etc/cloudflared
nano /etc/cloudflared/config.yml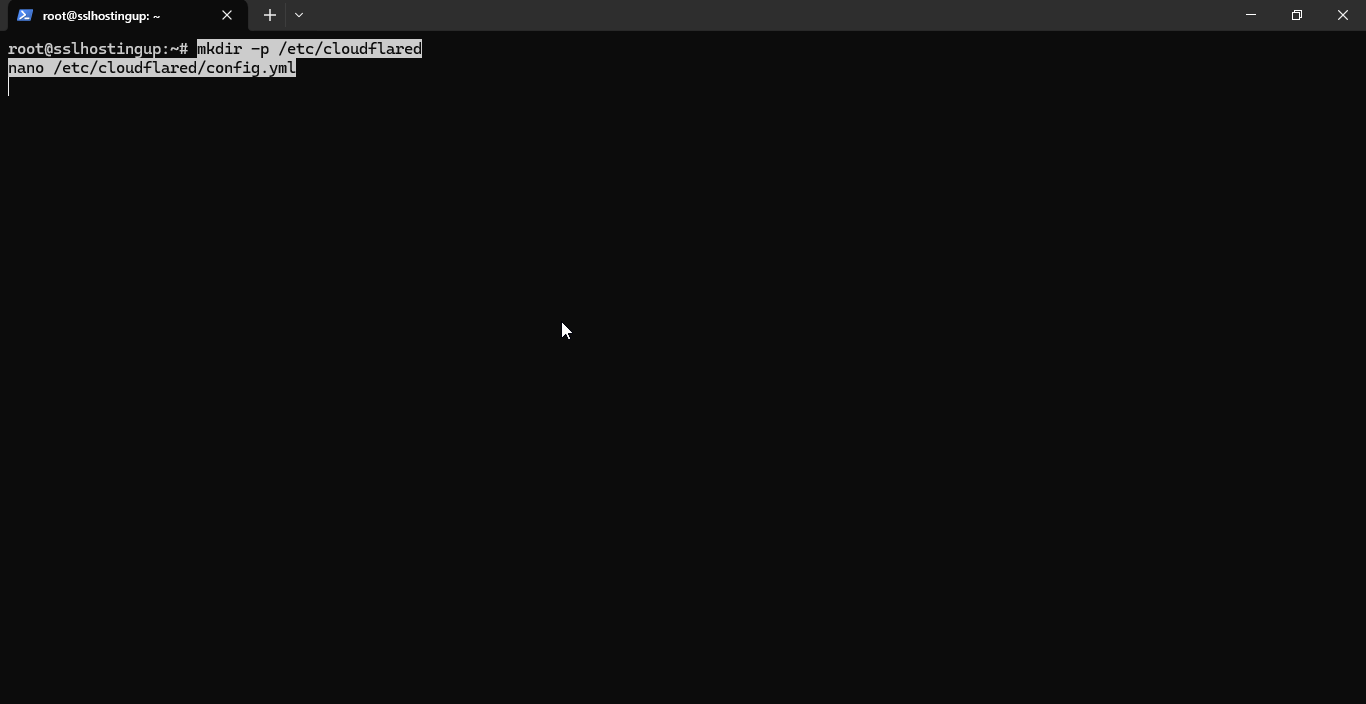
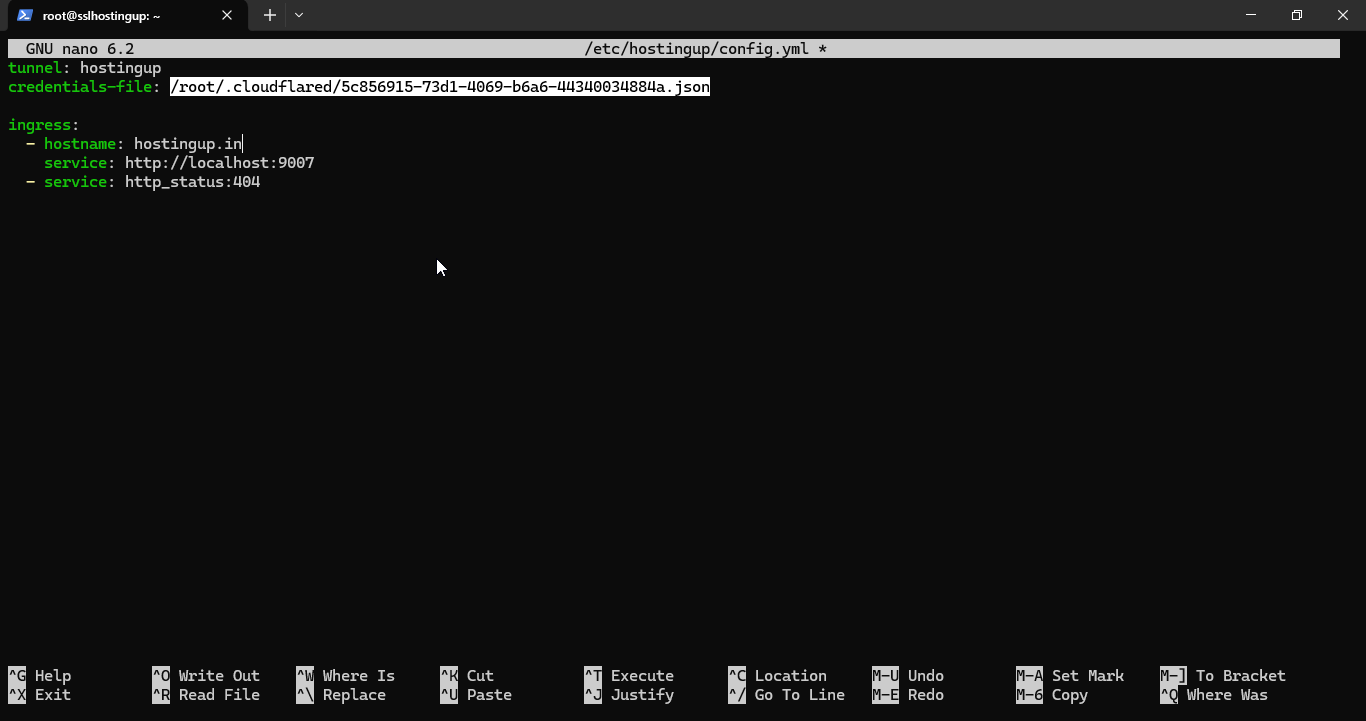
Example config.yml:
tunnel: hostingup
credentials-file: /root/.cloudflared/YOUR_TUNNEL_ID.json

ingress:
  - hostname: yourdomainname.com # Change To Your Domain Name
    service: http://localhost:9007 # Change To Your Hosting Port
  - service: http_status:404
Step 4: Enable Tunnel and Route Domain
cloudflared tunnel route dns hostingup yourdomainname.com
cloudflared service install
systemctl enable cloudflared
systemctl start cloudflared
✅ Your site is now LIVE with HTTPS at:
https://yourdomainname.comNotes:
- Only use the hosting port (e.g., 9000, 9001) for your web application
- HostingUp provides two ports: one for SSH and one for hosting
- No need to open ports manually — Cloudflare Tunnel handles secure routing
Example service line in config:
service: http://localhost:9007 # Change To Your Hosting PortNeed Help?
- Support Ticket: https://hpanel.hostingup.in/submitticket.php
- Cloudflare Docs: Cloudflare Tunnel Setup
